 Not the type of static I’m talking about
Step 1: Set up a Github Account (if you don’t have one)
You don’t necessarily have to have a Github account to deploy a static website using Microsoft’s services - but we’re going to for the purposes of this project. If you don’t have a github account already, go ahead and create one and get yourself set up.
Unless you intend to share the source code of your static website, I would make this a private repository.
Step 2a: Set up Azure Portal - Basics
We’re going to set up the resources necessary in Azure so that we can have a static website to deploy to. Azure’s naming conventions will make this really easy to get set up and deploy to. All you really need to do is search for Static Webites in the search bar and you’ll find it.

In the next screen, click Add and you’ll see the following displayed on screen:
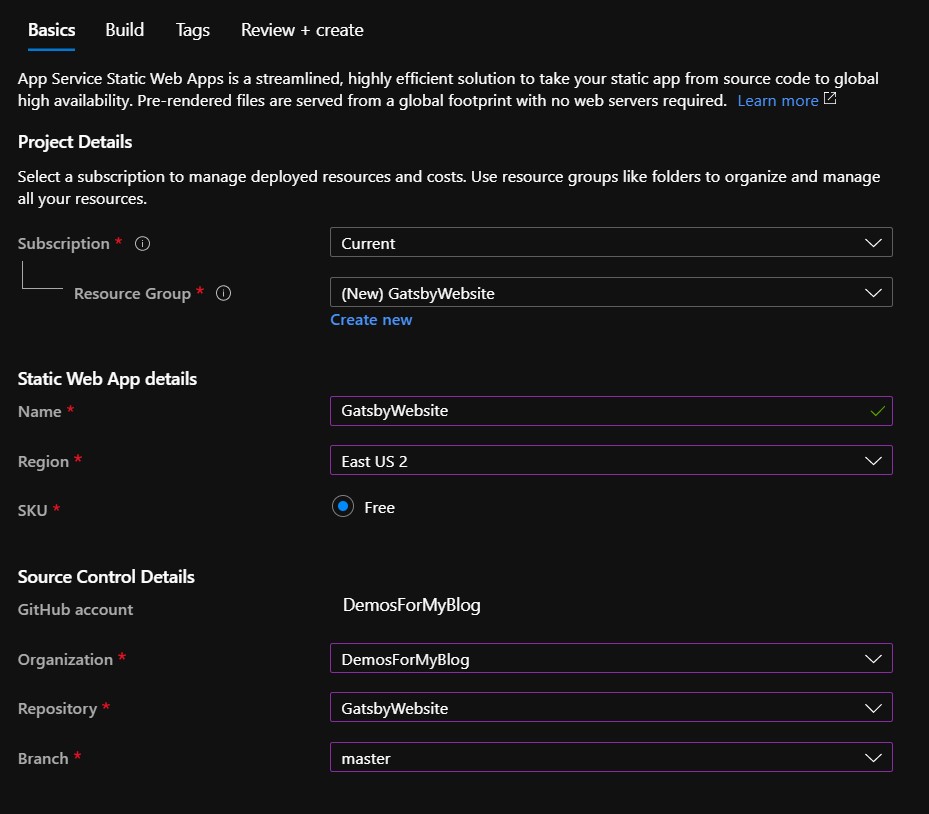
Project Details
-
Subscription: (whatever the one that you’re using here is)
- Resource Group: Click create new and name it something useful (maybe Gatsby Website)
Static Web App details
- Name: GatsbyWebsite
- Region: Choose the region that you think your visitors will be closest to. I chose East US 2.
- SKU: Free (this is the only option at time of writing)
Click Sign in with GitHub and enter in the username and password of your github account (or create one). There are many tutorials out there for Github, if you haven’t used the service before. There will be a prompt to allow access - click Authorize.
Click Next
Step 2a: Set up Azure Portal - Build
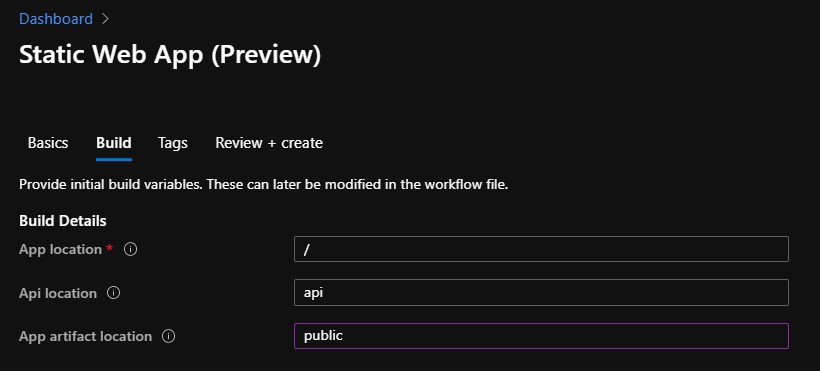
Build Details
-
App location: /
- This is going to be the primary reference point for your app.
- Api Location: api
-
App artifact location: public
- This is important. Azure needs to know where your post build artifacts are going to live to render your site.
- Gatsby stores these in the /public
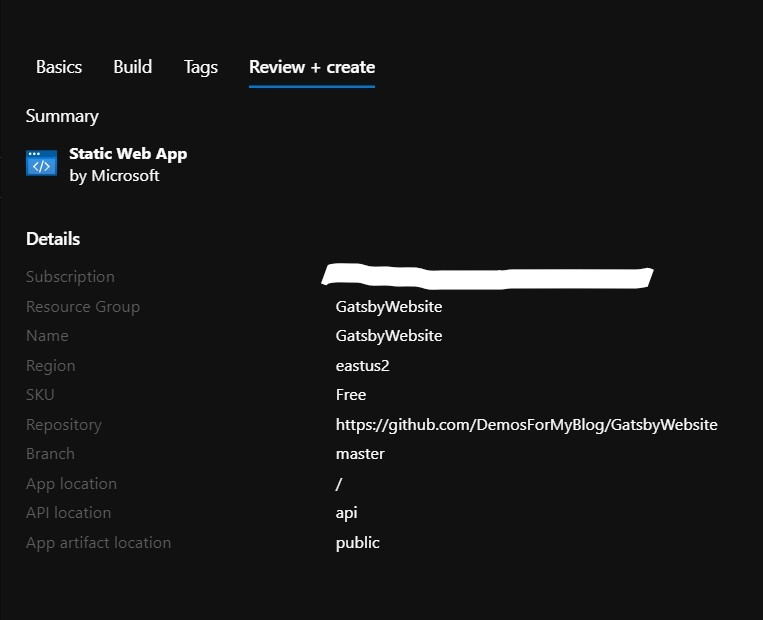
Click Review and Create
This will display the following window
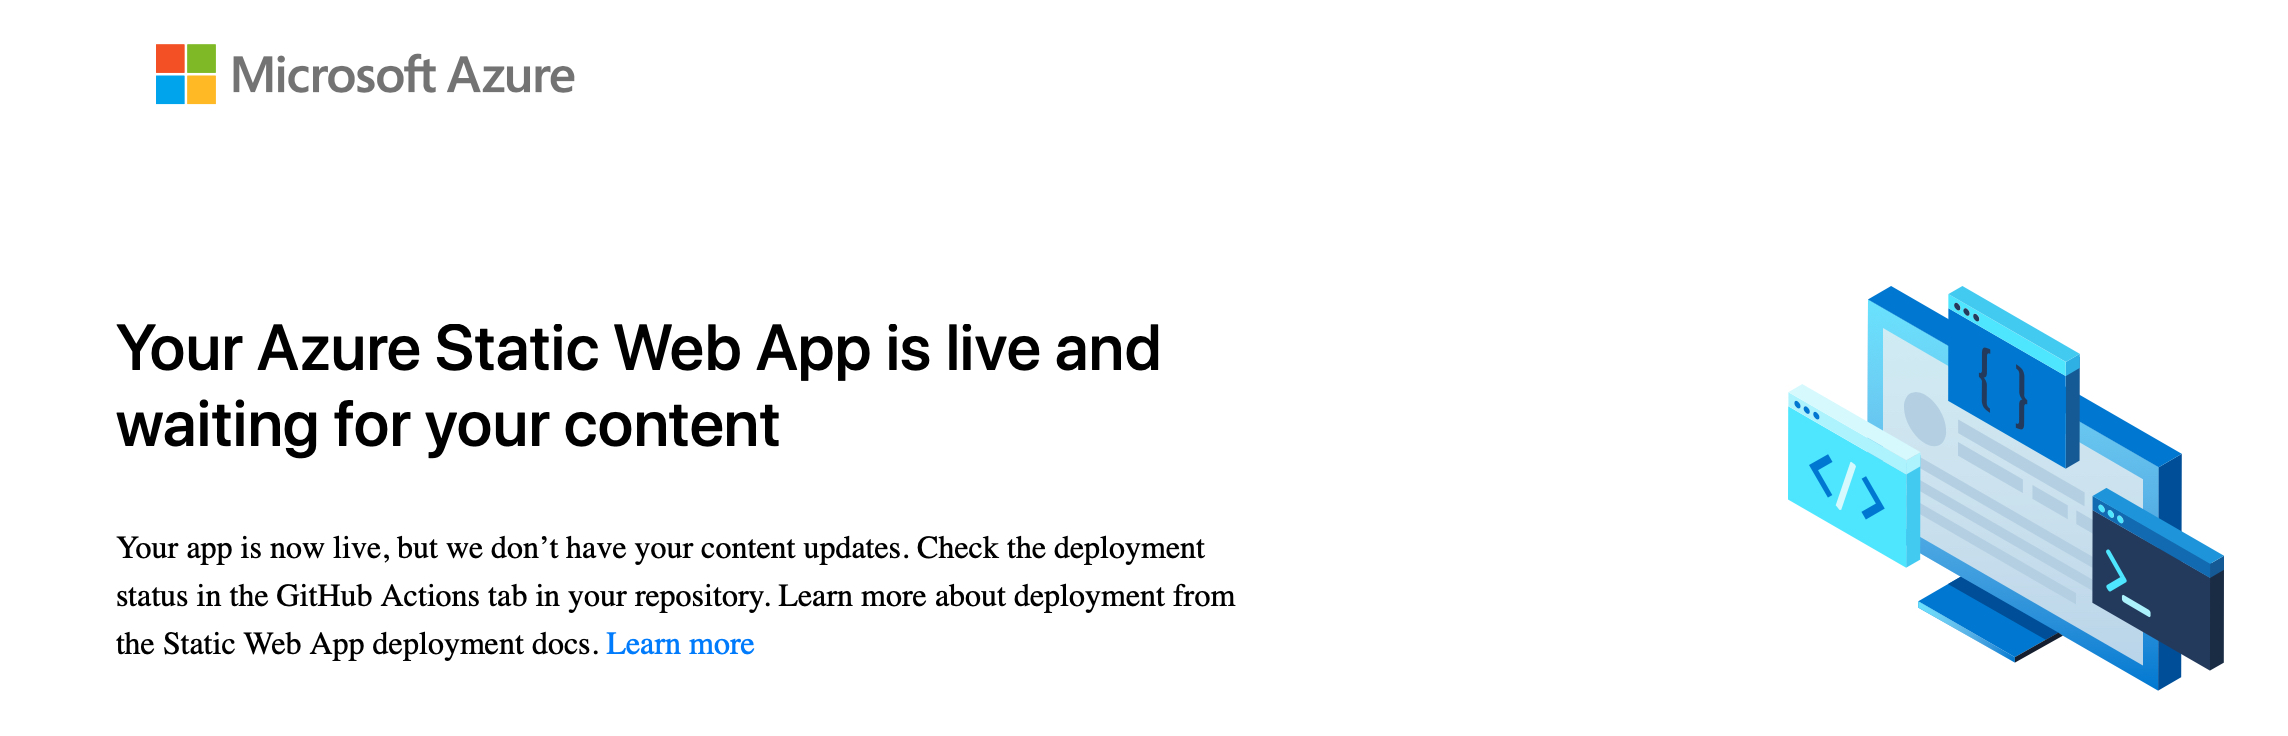
At this point, you should be able to navigate to search for your static app in the search bar and pull up a page that looks similar to this:
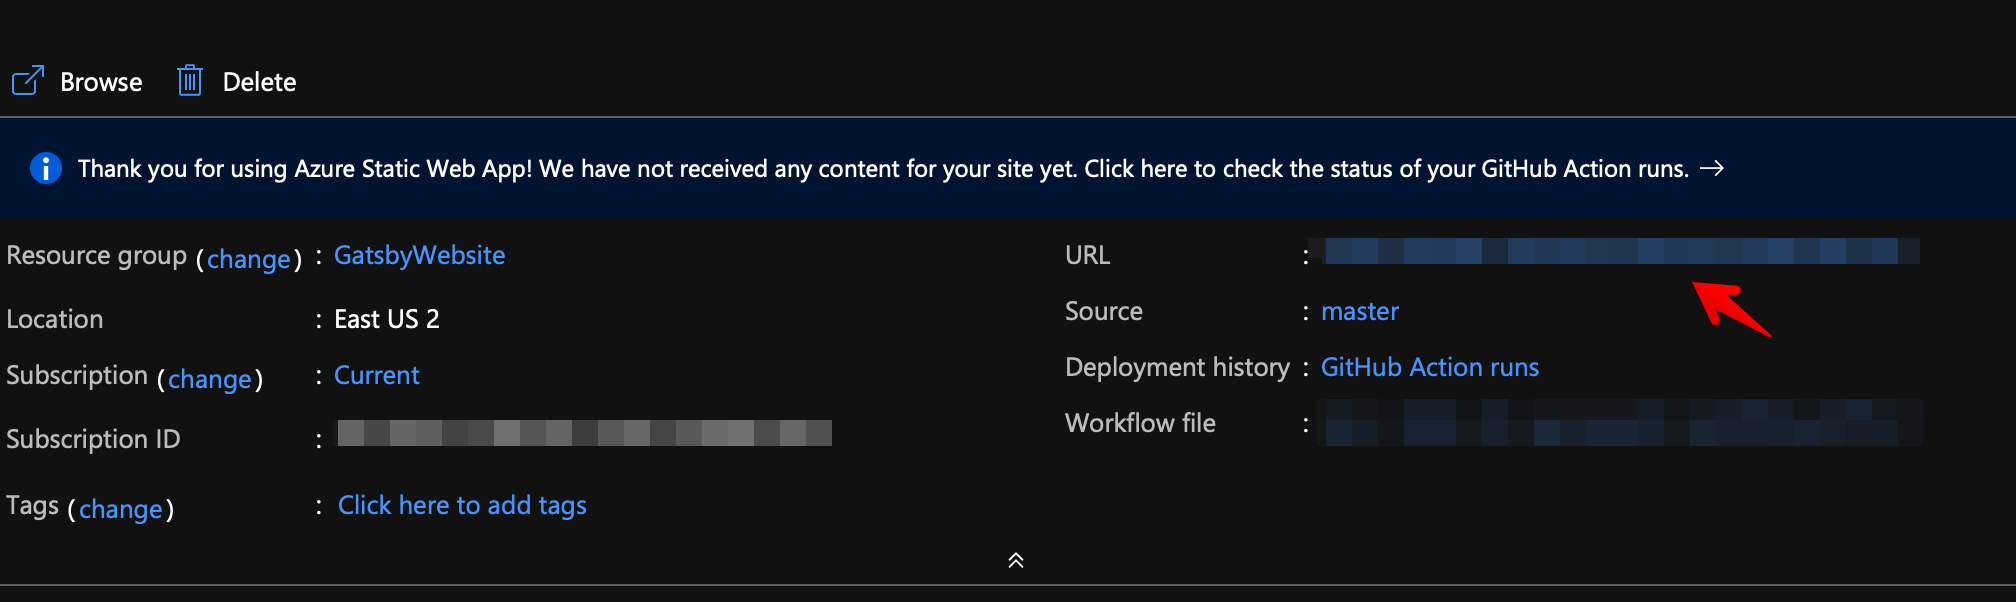
Click on the URL that the red arrow would be pointing to, and it should bring up a demo page. This shows that your website is deployed and ready for the world to see!
In the next part of this series, I’ll go through the workflow to creating content and publishing it.