 Not the type of static I’m talking about
In Part 3 of my series, we got our local environment setup so that we could start developing. Let’s now take a look at where you’ll be spending a lot of your time and some of the important areas in your project.
If you haven’t already, install Visual Studio Code. We’re going to be using that as our editor for the project.
Open VS Code and navigate to File >> Open (or Open Folder, whichever is available on your OS) and open the folder that your project is under.
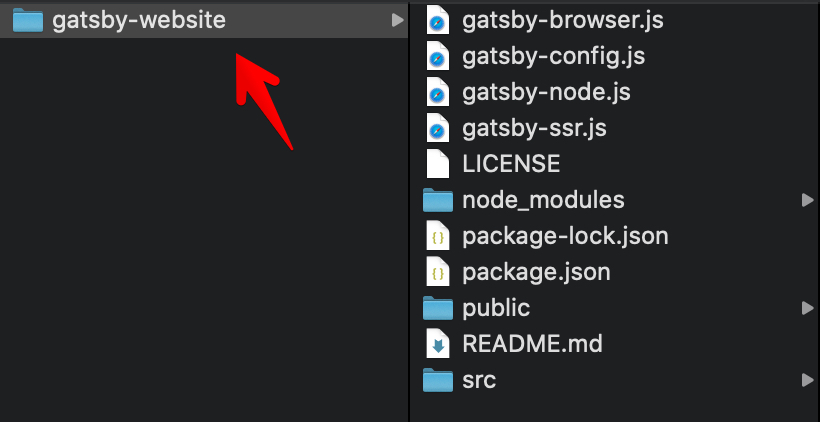
Result:

Some important areas to note in a Gatsby project:
- /public
If you remember from our previous section where we set up Azure, we set public as our app artifact location. When someone wants to visit our website, this is the folder that the user is going to be browsing. Contrary to what you might think, we are not going to be spending much time in this folder. This basically just the output folder for the work that we’re going to be doing.
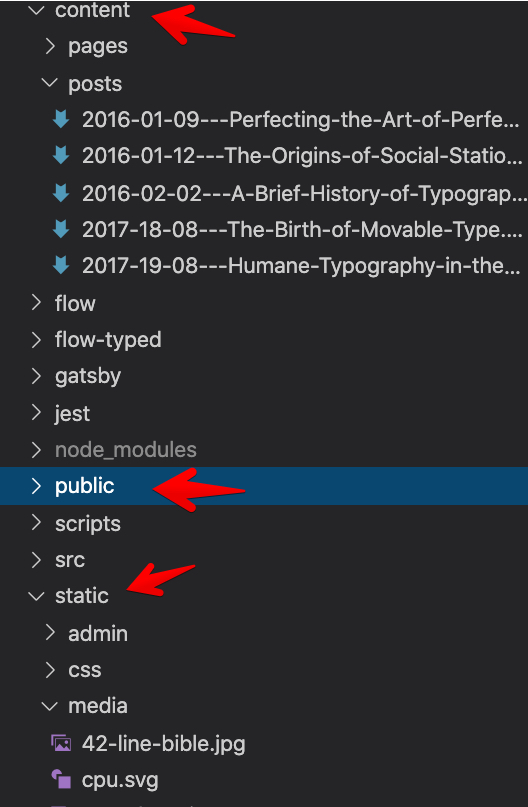
- /content
This is folder that we’re going to be making the majority of our changes to. The way Gatsby works is that you’re going to making changes to pages in a format called Markdown. When you’re done making changes, Gatsby is going to convert these markdown files into HTML and then serve those to people visiting your website.
- /static
This is the folder that we’ll be keeping our images in for our blog posts.
Open a new terminal in your folder and run the following to get a local server running on your machine for your website:
gatsby developBring VS Code and your browser window side by side so that you can see both of them. Navigate to http://localhost:8000 in your browser of choice like before, then click on the blog post “Humane Typography in the Digital Age” to open it up in your browser. Under /content/blog/ in VS Code, you should see a file named similarly as the blog post. Click on that to see the file in VS Code. Your view should look like this:
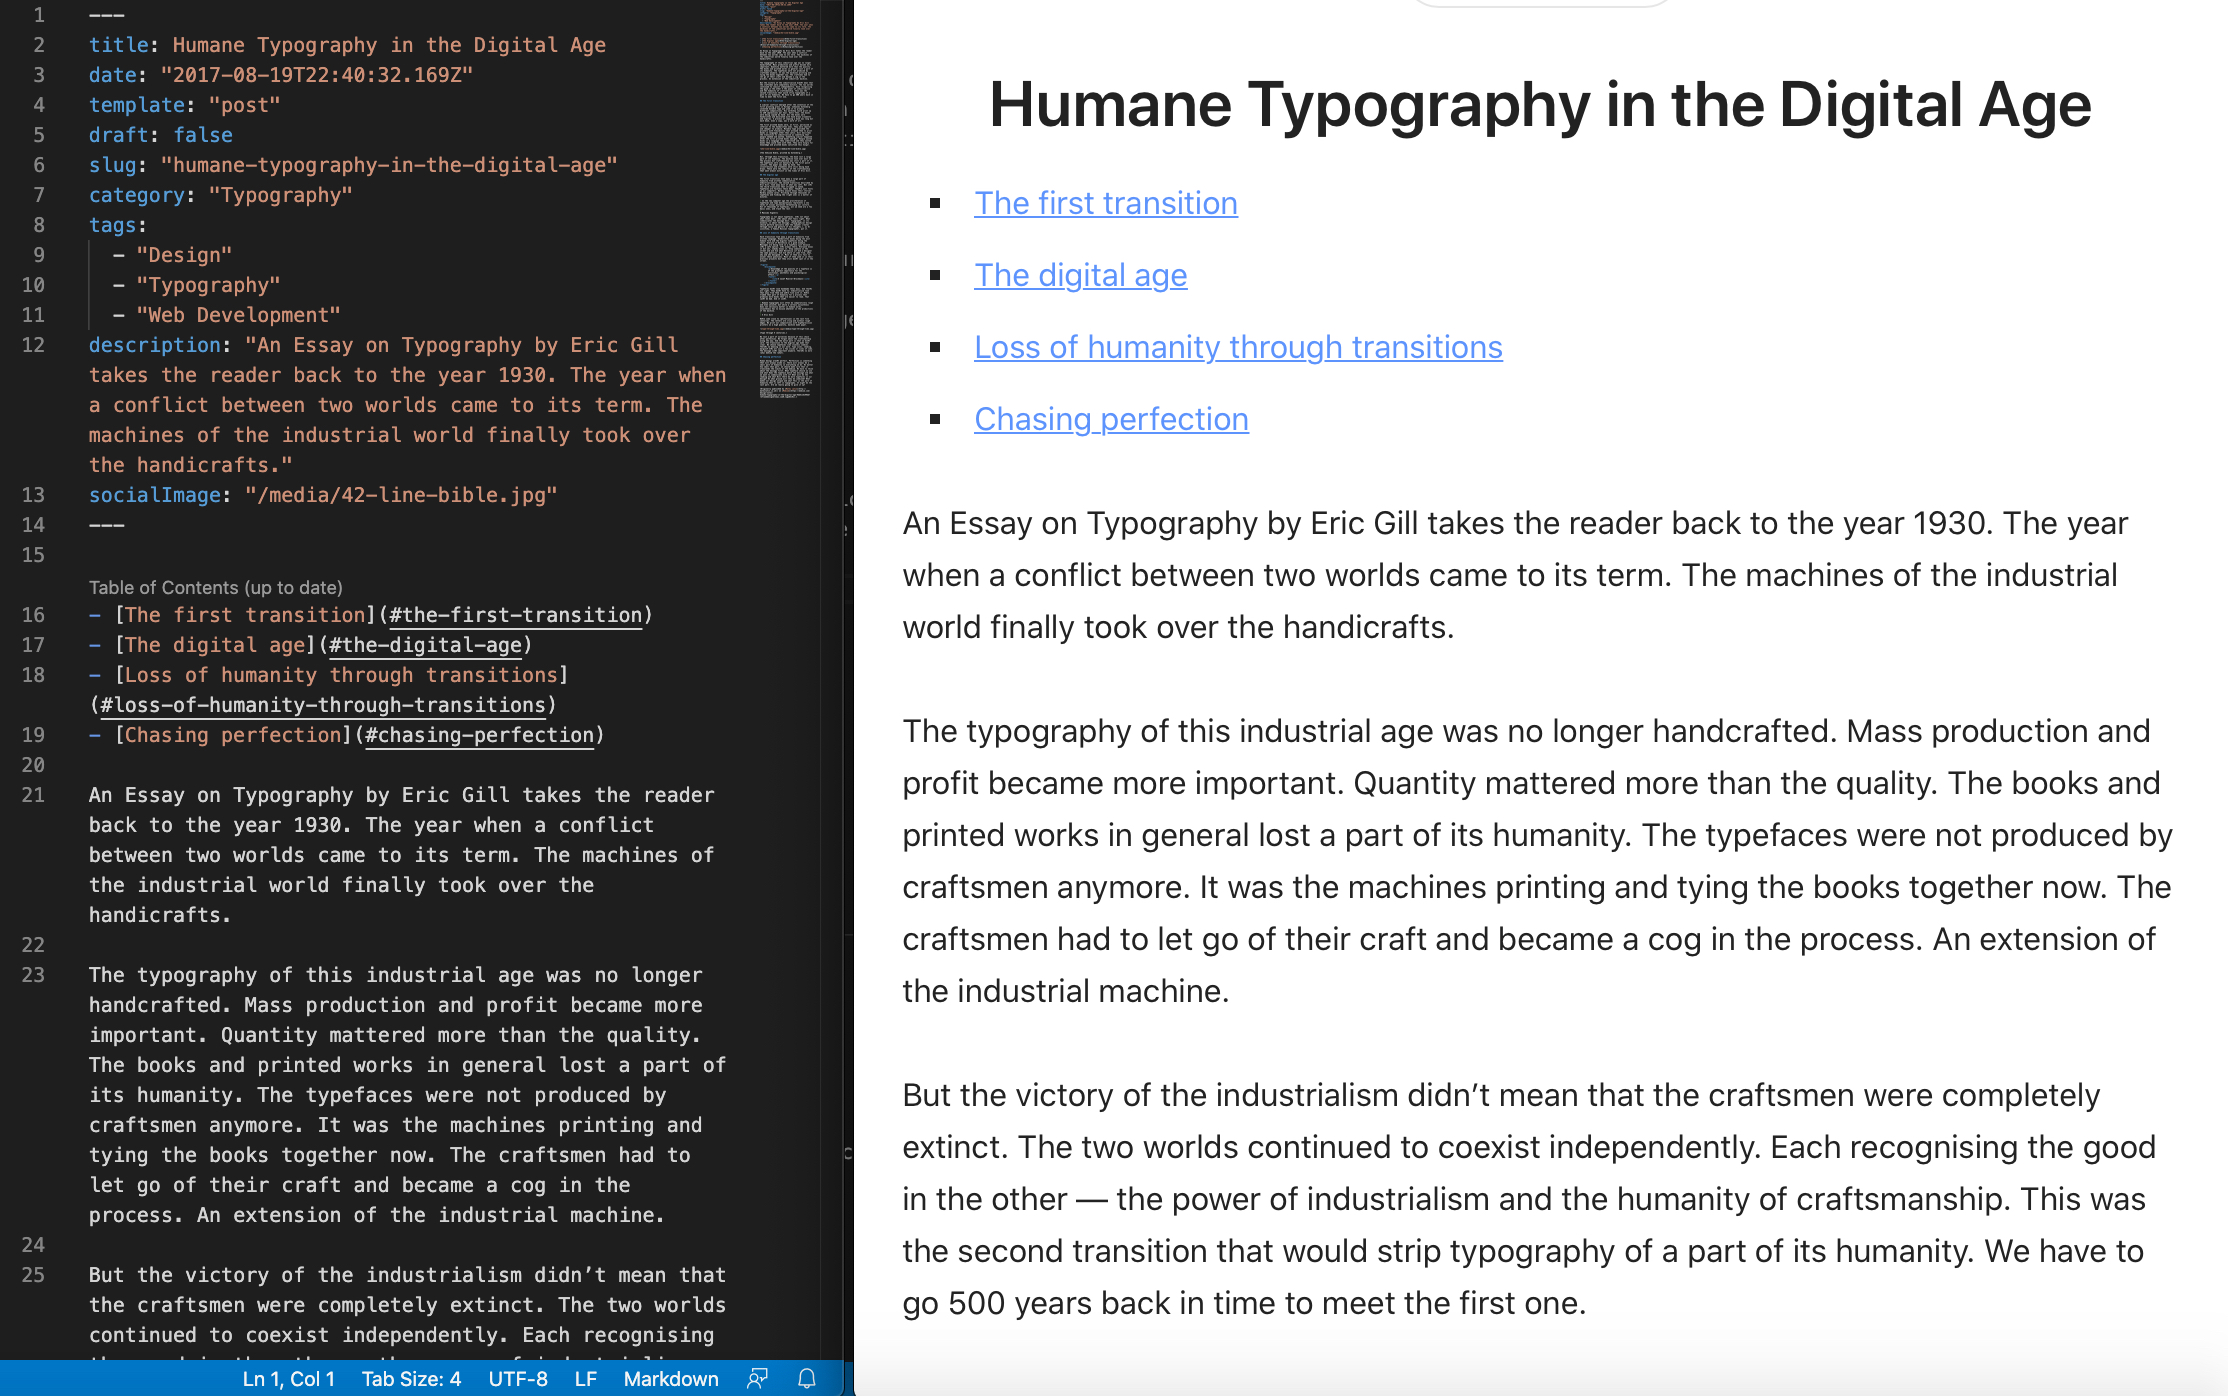
You should notice that the file looks pretty straightforward - this is what makes Gatsby so great! You don’t have to bother yourself with a lot of custom HTML or CSS for styling. At the top of the Markdown file on the left you can see some basic attributes about the blog post that you’re editing - let’s go over a few:
| Item | Description |
|---|---|
| Title | The way that your blog post title is going to be displayed on your post and on the blog roll |
| Date | Date that the post was published |
| Template | Controls whether you want this to be part of a blog post or just another page on your website. I don’t typically change this |
| Draft | Controls whether or not the post is a draft. I don’t typically change this. All of my changes are saved in git anyway |
| Slug | Controls how you want your post URL to be formatted. You may want to modify this for SEO purposes or organization |
| Category and Tags | You can group your posts together similar to how many other major blogs group theirs together based on the type of post that you’re writing. |
| Description | A short description that will be displayed on your blog roll of what the main content of your post will be about |
| Social Image | When your share your blog post, this is the image that you’ll see on social media websites |
The three hyphens that seperate the items above from the rest of the post are really important - don’t modify or chnage those.
Check out the gif below for one of my favorite features:
When you run:
gatsby developThe local server that you’re running automatically detects changes that you make and updates the UI instantly (for most things). This is called hot reloading. This way while you’re making your blog post, you can see things and catch things as you go. Every time you click save your website is automatically updated.
For a primer on Markdown and some of the cool things you can do with it - visit this page.
In my next post, we’ll make a simple change and deploy that change to Github.